
How to Use a Charcoal Grill: A Complete Beginner’s Guide to Setup, Heat Control, and Better Grilling
In this article, we have outlined a simple sequence for cooking with charcoal: pick the right gear, light the fuel, create heat zones, control the airflow, and finally close down the grill safely. We also outline the characteristics of a good grill to make cooking easier, to get better results, and to make cleaning up a doddle.
Before You Start: Choose the Right Grill, Charcoal, and Tools
Which Charcoal Grill Type Fits Your Cooking Style?
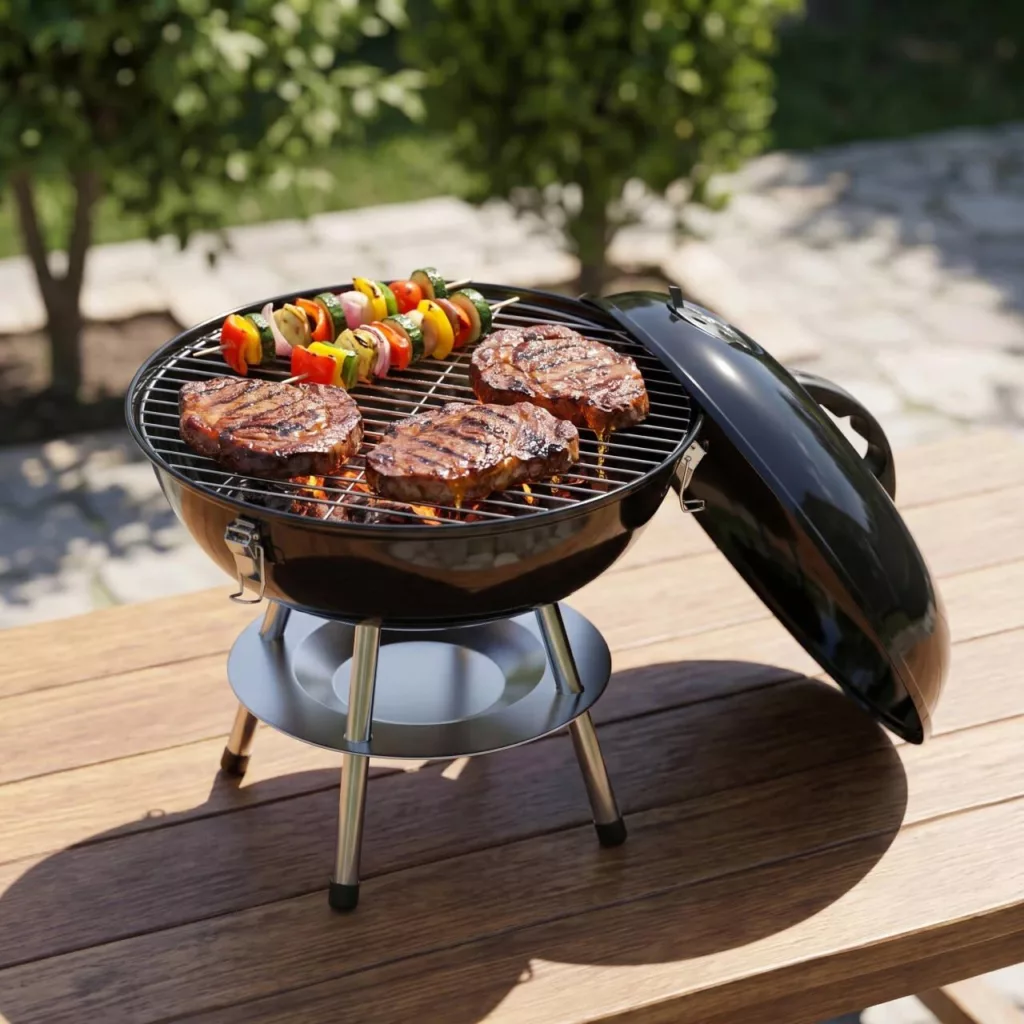
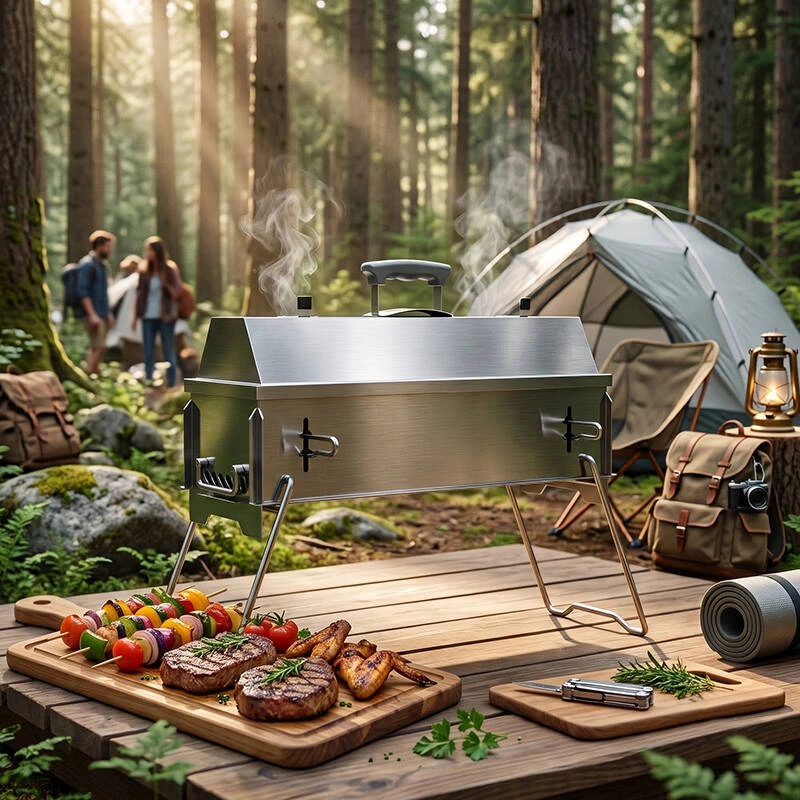
Some cooking setups are better suited to certain formats than others. A kettle-style BBQ is great for both direct searing and indirect cooking. A folding BBQ is probably best for those who move around a lot, as these grills are lightweight and compact for storage. A trolley-style BBQ is probably best for those who cook outside frequently, as these grills provide a great work surface and allow the height of the charcoal to be adjusted. For low and slow cooking, a kettle-style smoker is probably your best bet as it allows for long covered sessions.
Lump Charcoal vs Briquettes
Both fuels work, but they behave differently.
| Factor | Lump charcoal | Briquettes |
| Lighting | Usually faster | Usually slower |
| Heat | Can become very hot | More uniform |
| Burn pattern | Less predictable | More consistent |
| Ash | Usually less | Usually more |
| Best for | Fast searing | Longer, steady cooking |
We use briquettes for most repeatable cooking. Lump charcoal has its place, providing rapid heat and the best vent response. Note that we only use dry fuel and don’t overfill the fire bowl.
Essential Tools and Safety Setup
Make sure you have a chimney starter, a pair of long tongs, heat-resistant gloves, a brush for your grill, a food thermometer, and a metal container to put the completely cooled ash in.
Grills should be used outdoors on firm, non-flammable surfaces that are at least three feet away from walls, overhanging branches, dry grass, or other flammable materials and traffic paths. Never use a grill indoors, in a tent, or in an enclosed garage.
How to Light a Charcoal Grill Step by Step
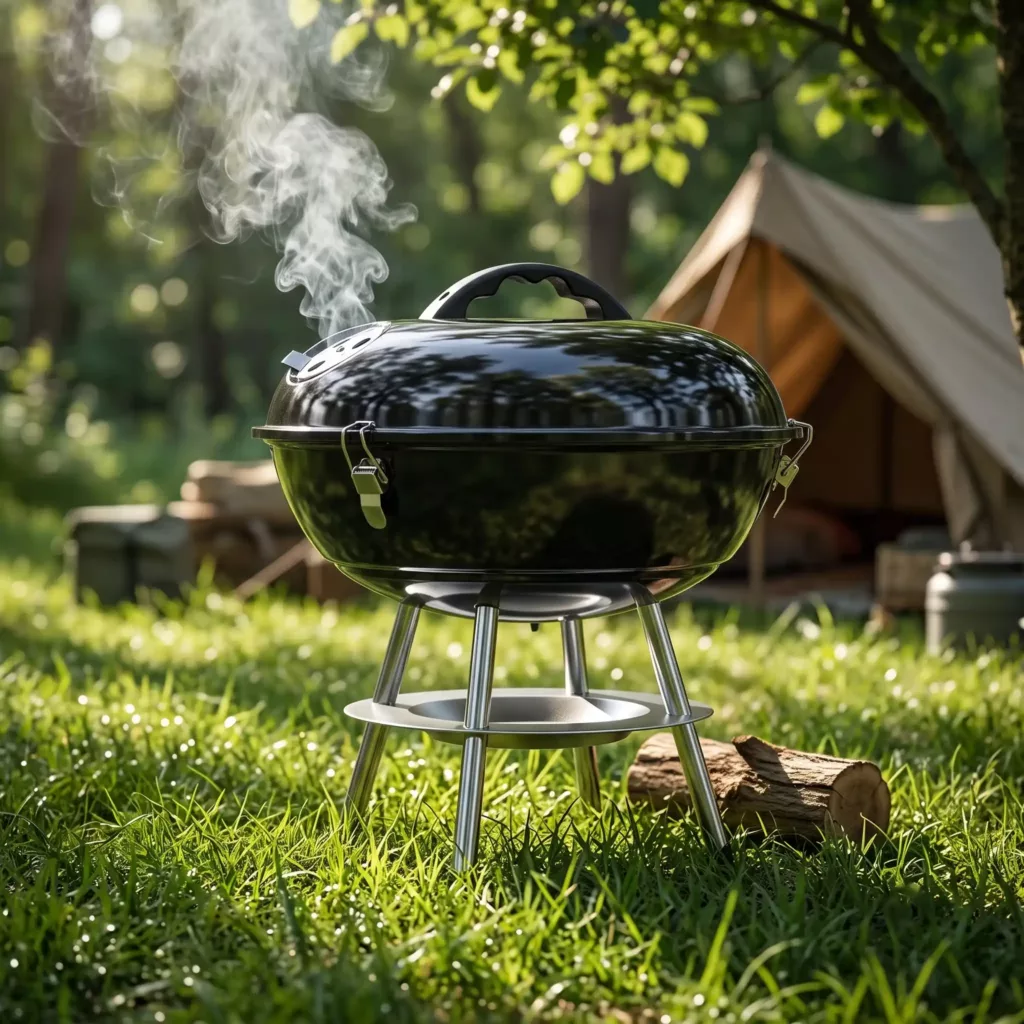
Light the Charcoal with a Chimney Starter
Chimney Starter to Light Your Fuel – Evenly and without Lighter Fluid.
- Remove the cooking grate and open both vents.
- Fill the chimney with the amount of charcoal needed for cooking.
- Add a suitable fire starter or some loose paper underneath.
- Ignite it through the lower openings.
- Let the fire spread upward.
- Gloves on? Carefully pour coals into the fire bowl.
- Arrange them for direct, indirect, or two-zone cooking.
Replace the grate, close the lid, and allow the cooking surface to heat. Clean the cooking surface with water and a brush before cooking with any food.
Know When the Coals Are Ready
By that time, most of the pieces of charcoal will have a light gray surface, the centers of the pieces will glow, and the thick white ignition smoke will have decreased. It should feel hot and solid, and not get hotter and hotter.
Wind accelerates combustion, whereas cold or damp weather retards it. Visual indicators are far more accurate than a fixed time waiting to test for combustion.
How to Set Up Direct, Indirect, and Two-Zone Heat
Direct Heat for Fast Searing
Spread the fuel across the base of the grill, under the food for direct cooking. This method is ideal for items such as burgers, steaks, kebabs, slices of vegetables, and other fast-cooking foodstuffs.
Keep the lid available to shut down any unexpected flare-ups and allow thicker foods to cook more evenly. Avoid constantly moving your food, as this will stop it from browning and releasing less heat from the pan.
Indirect Heat for Larger Foods
For indirect cooking, push the coals all to one side of the grill or divide them more or less equally between two sides of the grill, leaving a fuel-free area in the middle of the grill. Place food in the cooler area of the grill and close the lid.
This configuration is very good for whole birds, thick cuts, and any item that just needs to cook for a longer period of time without burning the outside. By positioning the top vent directly over the food, the heat and smoke will traverse the entire chamber before exiting.
Two-Zone Cooking for Better Control
A two-zone fire creates a hot side for browning and a cooler side for finishing. The cooler area also protects food when dripping fat causes flames.
Practical case: Sear burgers over the dense charcoal zone, move them to the cooler side to finish, and warm buns away from the strongest heat. Chicken pieces can begin on the cooler side before a final sear.
KEYO BBQ wholesale supplier supplies a large BBQ grill model FT01-070. Body dimensions are 156 × 61.5 × 119 cm. The grilling area is 74.8 × 47.6 cm. The height can be adjusted to 14 cm. Other features are a front door design, adjustable vents, a thermometer, a side workspace, and lower storage. This is very ideal for long BBQ grilling sessions as you do not have to frequently lift the grill.
How to Control Temperature and Avoid Common Mistakes
Use the Vents to Raise or Lower Heat
Oxygen is the principal control for charcoal temperature. The lower vent is used to control the amount of oxygen that reaches the fuel, while the upper vent is used to release heat, smoke, and gaseous products of combustion.
Increase the size of your fire by opening the vents when required and decrease the temperature by partially closing the vents and allowing several minutes to pass before making any further alterations. Always ensure that the upper vent is partially open whilst cooking, as excessive restriction of the exhaust can cause the smoke to become stale and the fire to be less controllable.
Charcoal, the amount used, and where it is placed are used for larger temperature changes. Vents are used for finer adjustments.
Add Fuel, Handle Flare-Ups, and Shut Down Safely
To extend a long cook session, scatter a few pieces of unlit charcoal on the hot coals beside the fuel rather than burying the whole of the fire. This will extend the session gradually.
If there are flames, move the food to the cooler zone and close the lid for a few minutes. Never pour water on hot fuel as it can scatter ash and damage coated surfaces.
After you have finished cooking, close the lid and all vents. Once the fuel and ash have cooled completely to room temperature, tip them into a metal container and give the grate a clean. Also, clear any blocked air passages.
How to Choose the Right Charcoal Grill for Your Needs
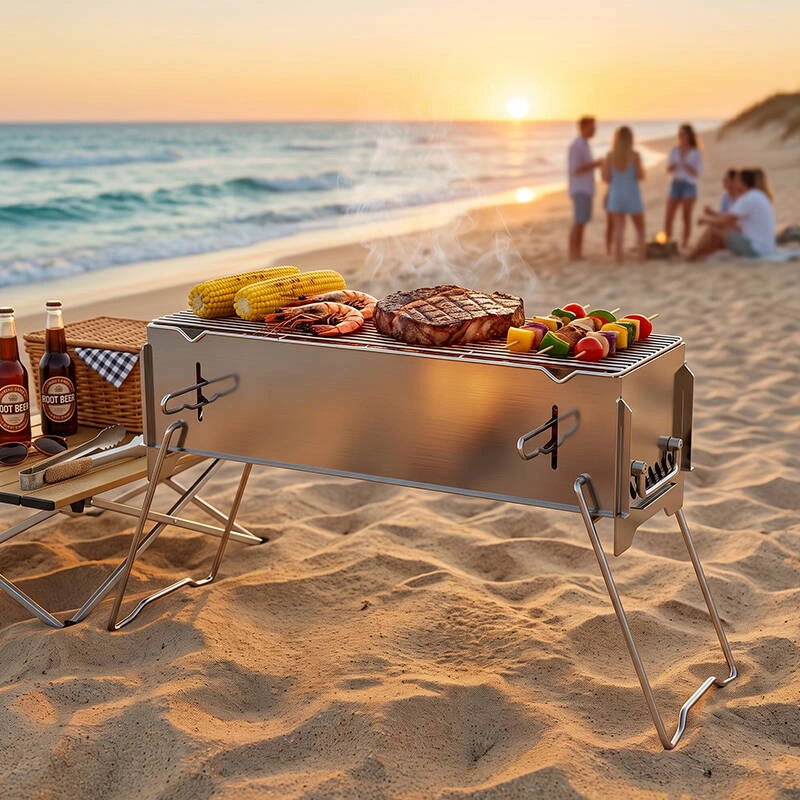
Start with the cooking environment, not the largest unit. Compact grills suit transport and limited storage. Kettle designs balance direct and indirect cooking. Trolley formats suit users who value workspace, mobility, fuel access, and larger cooking areas.
We offer verified options for these needs:
| Model | Product size | Cooking area | Practical use |
| PG07-070 kettle grill | 69 × 58 × 98 cm | 54 cm diameter | Family grilling and covered cooking |
| ZS01-014 folding grill | 56 × 31 × 36.2 cm | 41 × 26 cm | Camping and compact storage |
| FT01-050 trolley grill | 121.5 × 62 × 104 cm | 54 × 43 cm | Garden cooking with 12 cm height adjustment |
| PG03-007 kettle smoker | 55 × 44.5 × 76 cm | 41.5 cm diameter | Grilling and lower-temperature smoking |
Evaluate these points:
- Cooking area and realistic serving needs
- Lid fit and vent placement
- Adjustable charcoal tray or grate height
- Ash-removal access
- Thermometer visibility
- Handle position and stability
- Storage, wheels, or folding construction
- Grilling-only or grilling-and-smoking capability
For retailers, importers, and private-label buyers, it creates a much clearer assortment. Instead of offering numerous nearly identical products, retailers can focus on building an assortment of portable cooking solutions, family meals, large-entertaining occasions, and low-and-slow barbecue solutions. KEYO BBQ supports OEM and ODM development. We support our customers with the design and production of customized products and support them with branding, packaging, quality control, and logistics to ultimately turn the customer’s market requirements into a retail-ready product.
FAQ
Q: How do you use a charcoal grill for the first time?
A: Find a safe place outside to set up your grill. Open up the vents. Fill up your chimney with dry charcoal and light it. Wait until most of the coals are covered in a light ash. Set up your heat zones, preheat your grates, and start cooking with items that can be moved from hot to cool as necessary.
Q: How much charcoal should I use in a charcoal grill?
A: Use enough fuel to cover the required cooking zone, instead of filling up the fire bowl automatically. A short direct cook will require less fuel than a short high-heat sear or long indirect cook. The size of your grill, the weather, and the duration of your cook will also dictate how much fuel you will need.
Q: How do you control temperature on a charcoal grill?
A: First, manage the amount of fuel that is burning and then use the vents to manage the temperature. Increasing or decreasing airflow generally increases or decreases the rate of combustion. So make small changes and give it a little time to stabilize.
Q: Is lump charcoal or briquettes better for a charcoal grill?
A: Briquettes are useful for steady, repeatable heat. Lump charcoal often lights faster and responds quickly to airflow changes. The better choice depends on whether the priority is consistency, high heat, burn duration, or lower ash production.
Q: What type of charcoal grill is best for beginners?
A: A kettle-style unit would be the easiest first to build, to use for direct heat, indirect heat, and two-zone cooking. Simple to design and use. Look for adjustable vents, solid legs, easy removal of ashes, a good-fitting lid, and the size to do normal cooking for the average household.